Monday, January 10, 2011
Recipe: Homemade Paneer and Feta Cheeses
I just want to add the rest of this post is photo heavy on cheese-making steps. Don't say I didn't warn you!
Paneer!

The colander is ready for the cheesey bits!

Half a gallon of 2% milk on the stove, waiting for it to boil.

I used this lemon juice.

After the milk boils I put in 3 tablespoons of lemon juice and stirred it until the curds and whey were pretty separated.

Separated like this!
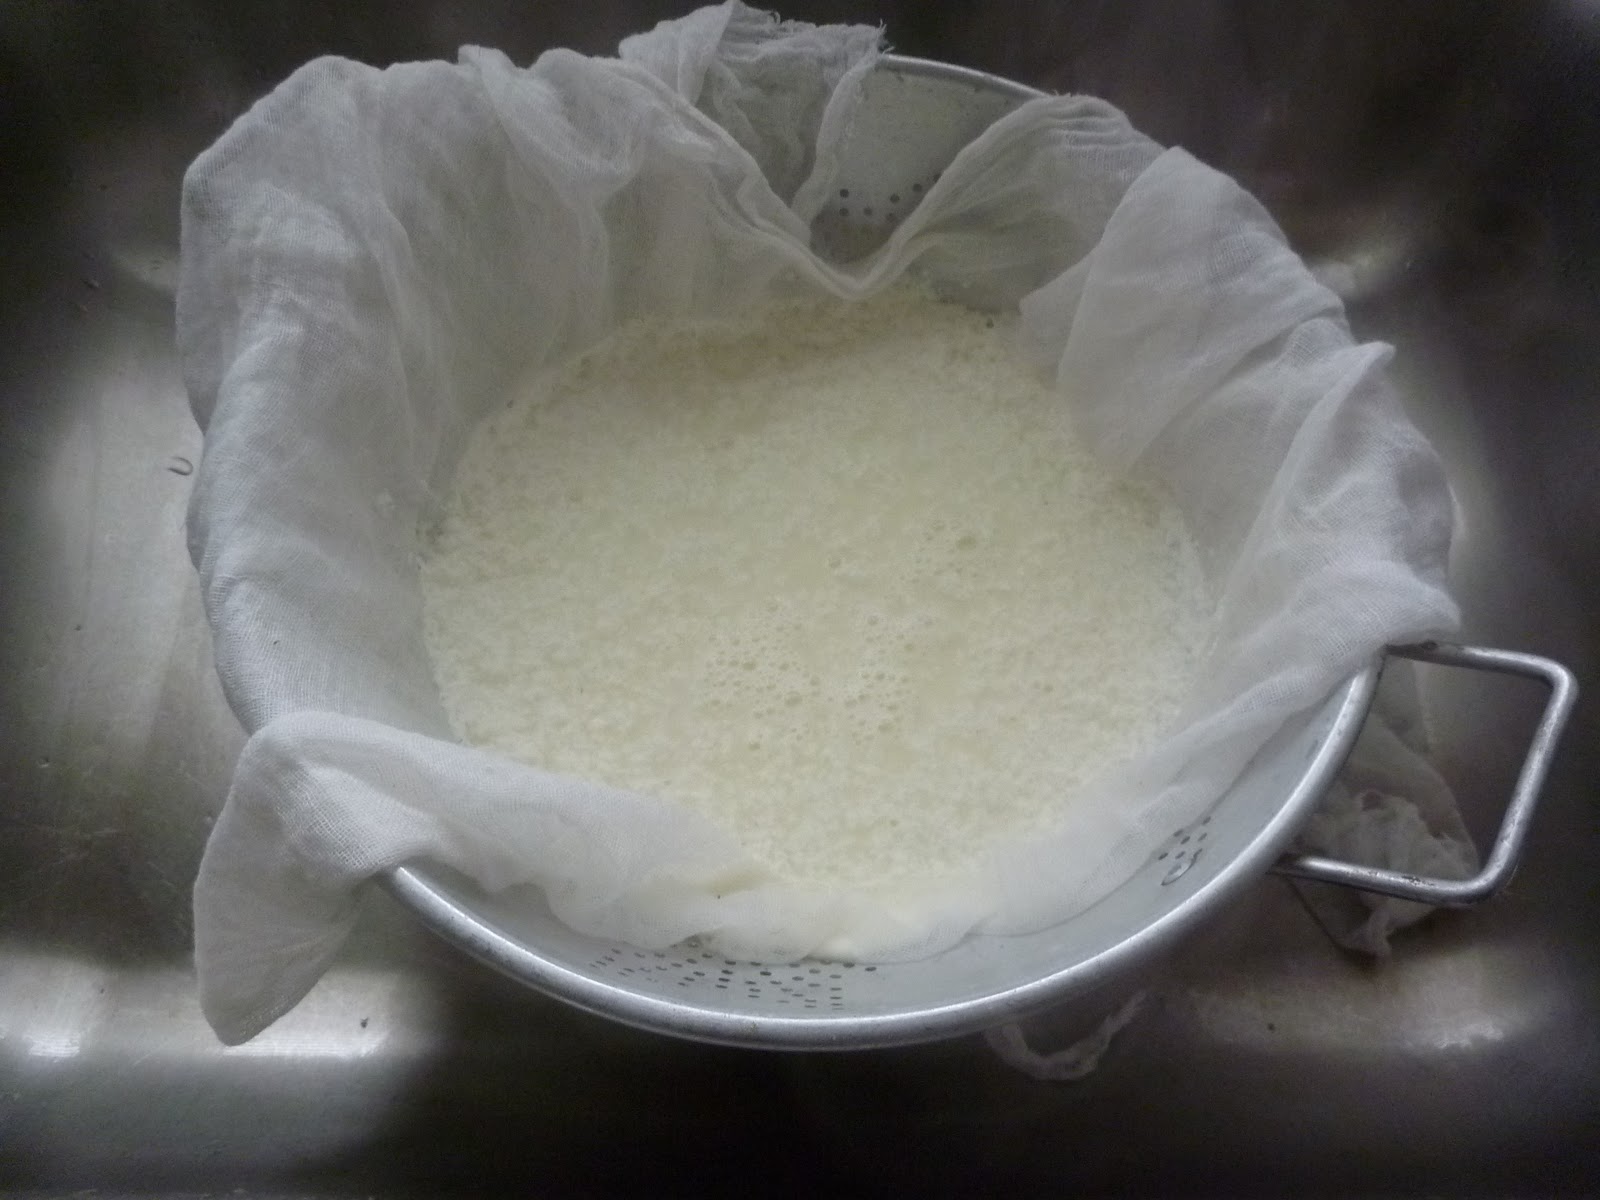
Then I poured the mixture into the colander to drain it.

Draining, draining, draining...

Finally it drained enough and had cooled enough for me to squeeze more of the whey out by hand. I also salted it at this point.

I squished it down into a pancake that was about an inch thick.

I put a plate and a weight on it to squeeze more of the whey out. I let it sit for an hour.

Ta da! My paneer wheel. :o) It needs more salt, so when I cut little pieces of cheese off I sprinkled a bit of salt on them and it tasted great! I'm looking forward to using this in some Indian dishes!
Feta!

My tools for making feta! Salt, calcium chloride to firm the milk better, mesophilic cheese cultures, rennet tablets, and my trusty thermometer.

The pot

Only a wee bit of the calcium chloride!

Waiting for the "cheese" to firm up.

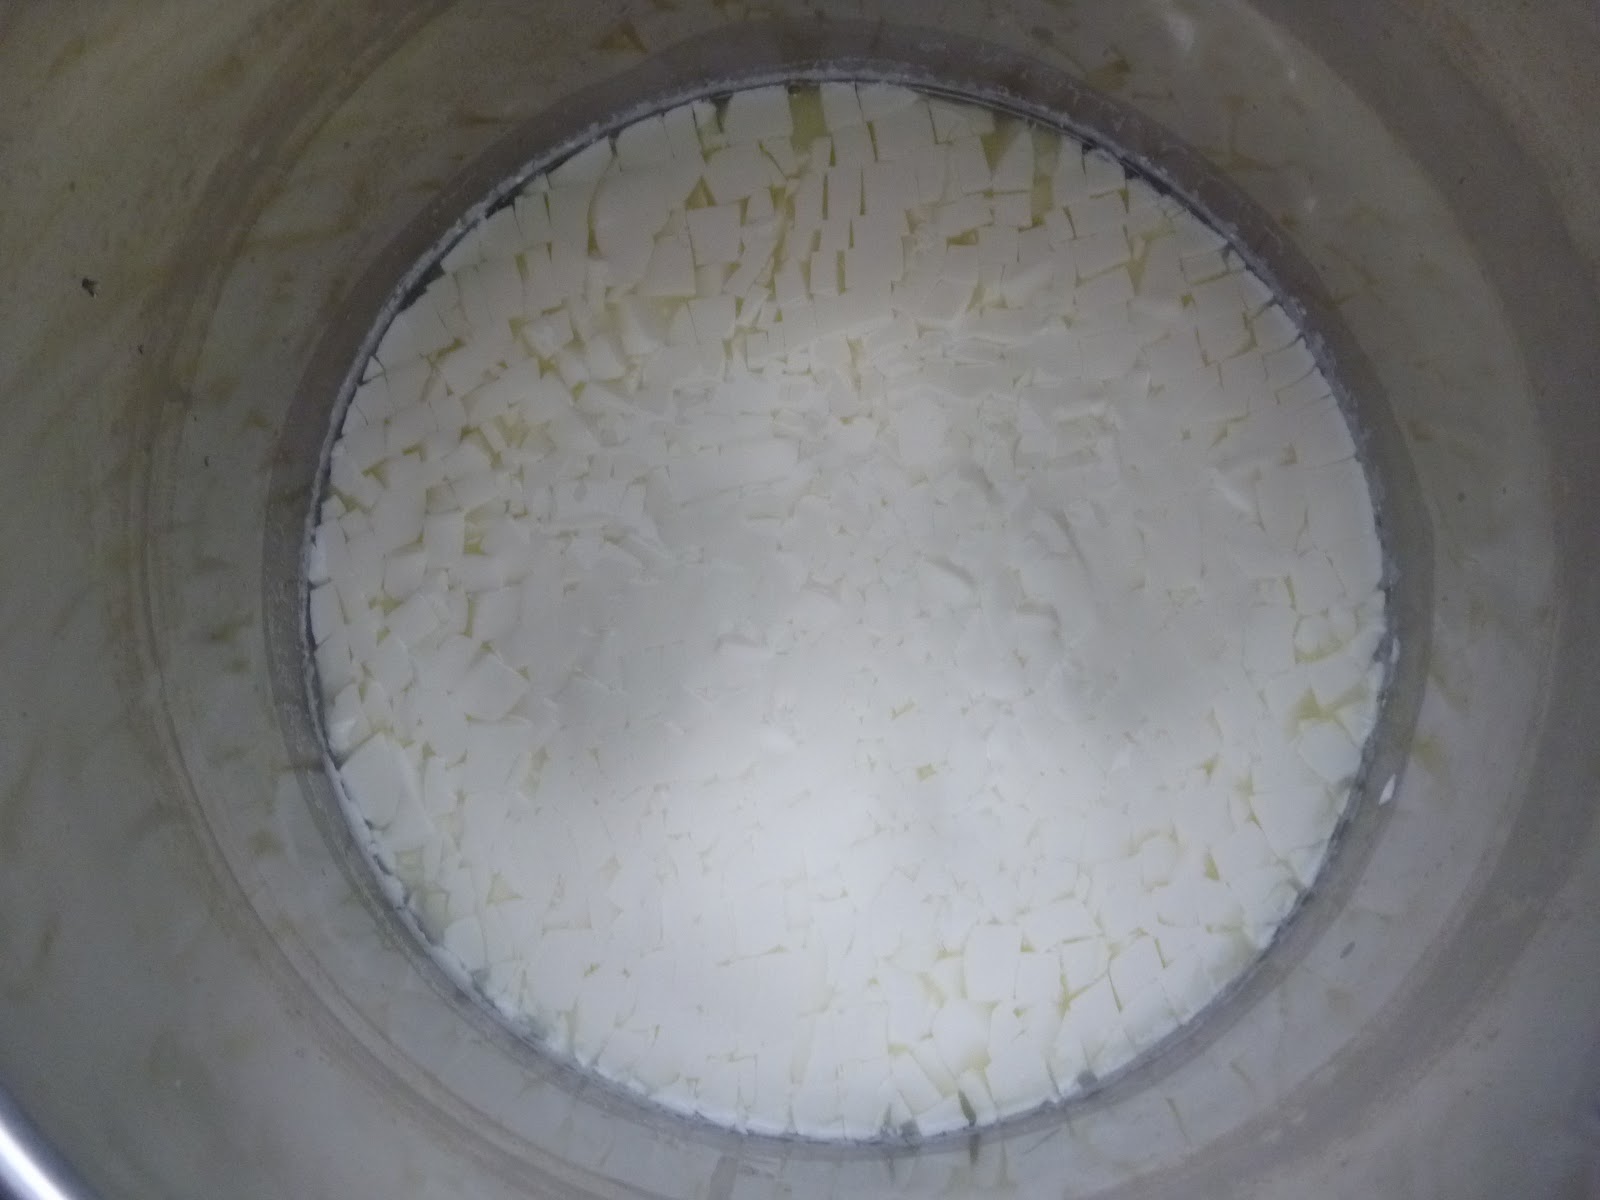
It must sit in the warm water for an hour to stay around 85*. Afterward I can start cutting it into curds.

Cutting the cheese into curds makes it look so neat.

I was trying to get a good "swirl" out of it. It's really cool-looking in real life!
After cutting up the curds and letting them set, they have to go back onto the stove for an hour. This is a four or five hour long process!

I have to stir the curds every ten minutes and it helps the whey come out. The reason the curds are cut is to give more surface area for the whey to extract.

Draining the curds.

After the curds drained (I let them drain for two hours instead of one - I took a nap!), I cut them into little blocks again and then salted them, let them drain more, and salted again.

I put the cheese into little jars, made a brine of water and salt, and put enough in each jar to cover the cheese. Now they're in my fridge to age for a couple weeks. It's hard to wait!
The rest of my weekend was super awesome, as well, but I shall save that for Wednesday's post. I hope everyone had a great weekend!
Subscribe to:
Post Comments (Atom)
Looks delicious!
ReplyDeleteThat is so cool! And what a great gift for friends!!
ReplyDeleteHappy Monday Darling! xo
Oh, and have you checked out my $75 EmersonMade GIVEAWAY yet??
wow. this is really cool! What an informative post. I never thought about making cheese at home, now I feel inspired!
ReplyDeleteYou should totally get a cheese kit! It is really easy, but just is kinda time consuming. It's totally worth it, though!
ReplyDelete